Adding Teaser Images and Favicons
Welcome to Day 9 of 100, I’m going to show how to add a favicon (which is the browser tab icon) and a teaser image, which is a small image related to a specific post.
Favicons
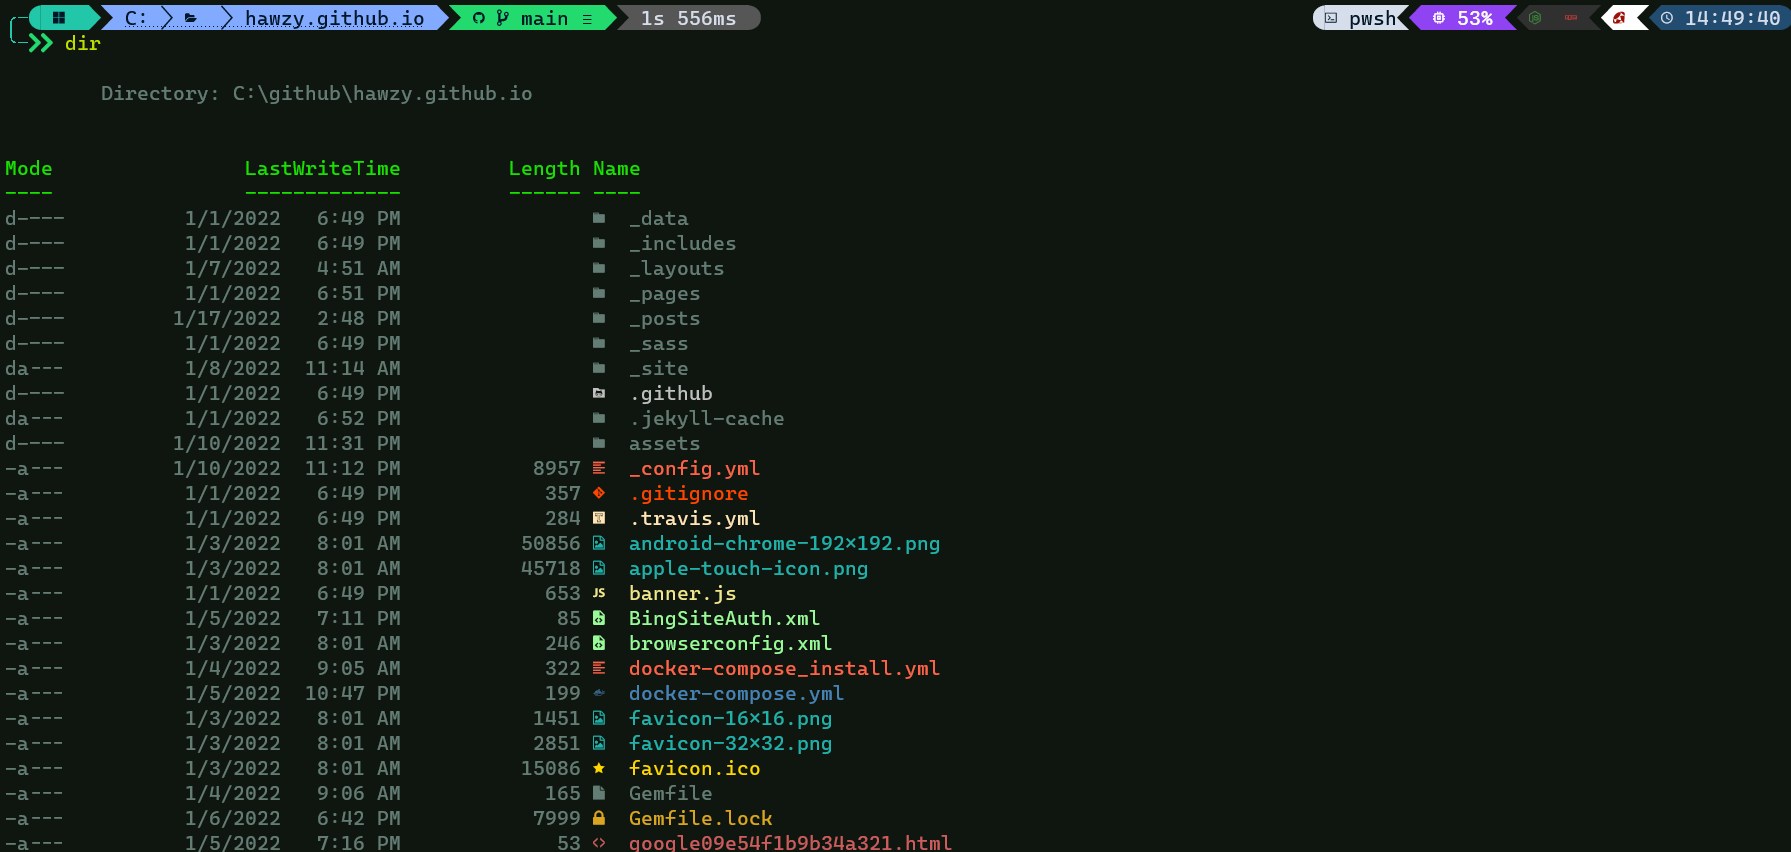
I used this website https://realfavicongenerator.net/ and uploaded my image, it gave me a zip with a bunch of favicon pictures for android/safari/etc, I just dump that all in the root of the website.
Once thats done we need to modify the _includes/head/custom.html file
<!-- start custom head snippets -->

<!-- insert favicons. use https://realfavicongenerator.net/ -->
<link rel="shortcut icon" href="/favicon.ico">
<link rel="shortcut icon" href="/favicon.png">
<link rel="apple-touch-icon" sizes="180x180" href="/apple-touch-icon.png">
<link rel="icon" type="image/png" sizes="32x32" href="/favicon-32x32.png">
<link rel="icon" type="image/png" sizes="16x16" href="/favicon-16x16.png">
<link rel="manifest" href="/site.webmanifest">
<link rel="mask-icon" href="/safari-pinned-tab.svg" color="#5bbad5">
<meta name="msapplication-TileColor" content="#da532c">
<meta name="theme-color" content="#778899">
<!-- end custom head snippets -->
Then once that is uploaded, https://realfavicongenerator.net/ also has a Favicon checker where it will scan your website and confirm.
Teaser Image
To override the default teaser image defined in _config.yml we can add this to the frontmatter of a post:
header:
  teaser: "/assets/teasers/headers.png"
and that should come through on the post preview and twitter card.
Conclusion
And that finishes day 9, adding favicon and teaser images to the minimal mistakes theme.
Leave a comment