
Hello World! Create a blog using VSCode and Markdown
Hi, my name is Nick and this is my #100DaysOfCode day 1 blog post.
I’ve been inspired by the 100 Days of Code Challenge and wanted to use this as an opportunity to:
- Explore some new technologies
- Document personal projects
- Learn some stuff
- Share what I learn
I’ve been working as a Security Engineer for the last 4 years and prior to that I worked in Windows Systems Ops/Administration for 12 years. I’m a father of 2 and currently writing this post with an 8 month old baby in my lap. I code for my job frequently and I’m kind of busy doing the dad thing so this will be more of a non-consecutive 100 day challenge.
My hobbies include Board gaming, PC Gaming, Fantasy Football, Hot Wings, and general tech stuff. So expect to see more content related to that on this blog eventually.
Prerequisites
I’m running Windows 10 Pro, You can grab these apps from the Microsoft Store if you don’t have them installed already.
- Windows Terminal
- launching PowerShell
- Visual Studio Code
- Extensions: markdownlint
- checks formatting as you go
- Extension: Markdown Preview
- Extensions: markdownlint
Create Files and File Structure
First things first, lets open Windows Terminal and start with a classic
echo "Hello World"
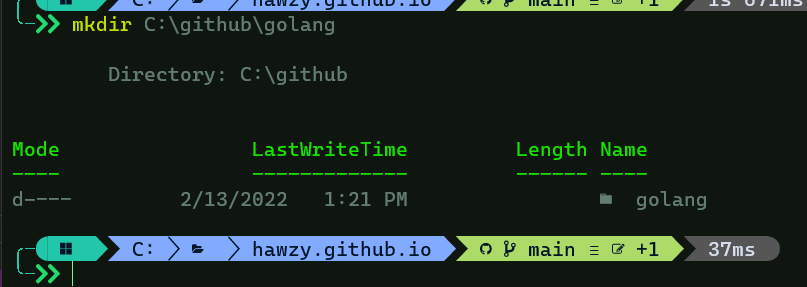
Create the folder structure we are going to use for this blog
mkdir C:\github\Hawzy.github.io
cd C:\github\Hawzy.github.io
Create the markdown file for this post and open it in VSCode
code blogpost1.md
And start typing away! The markdown text will be converted to readable HTML once on Github.
Examples of Markdown Formatting
Here are some examples of the markdown formatting I used in this blogpost, the raw file is here
https://mmistakes.github.io/minimal-mistakes/markup/markup-html-tags-and-formatting/ is a great resource too from the maker of this theme.
- Use a code fence to display code, 3 accent marks followed by the language you are displaying.
    ```powershell
    echo "Hello World"
    ```
- Bulleted List, start a line with * and sublines can be indented by 2 spaces
  * item 1
    * subitem 1
  * item 2
- Add a picture
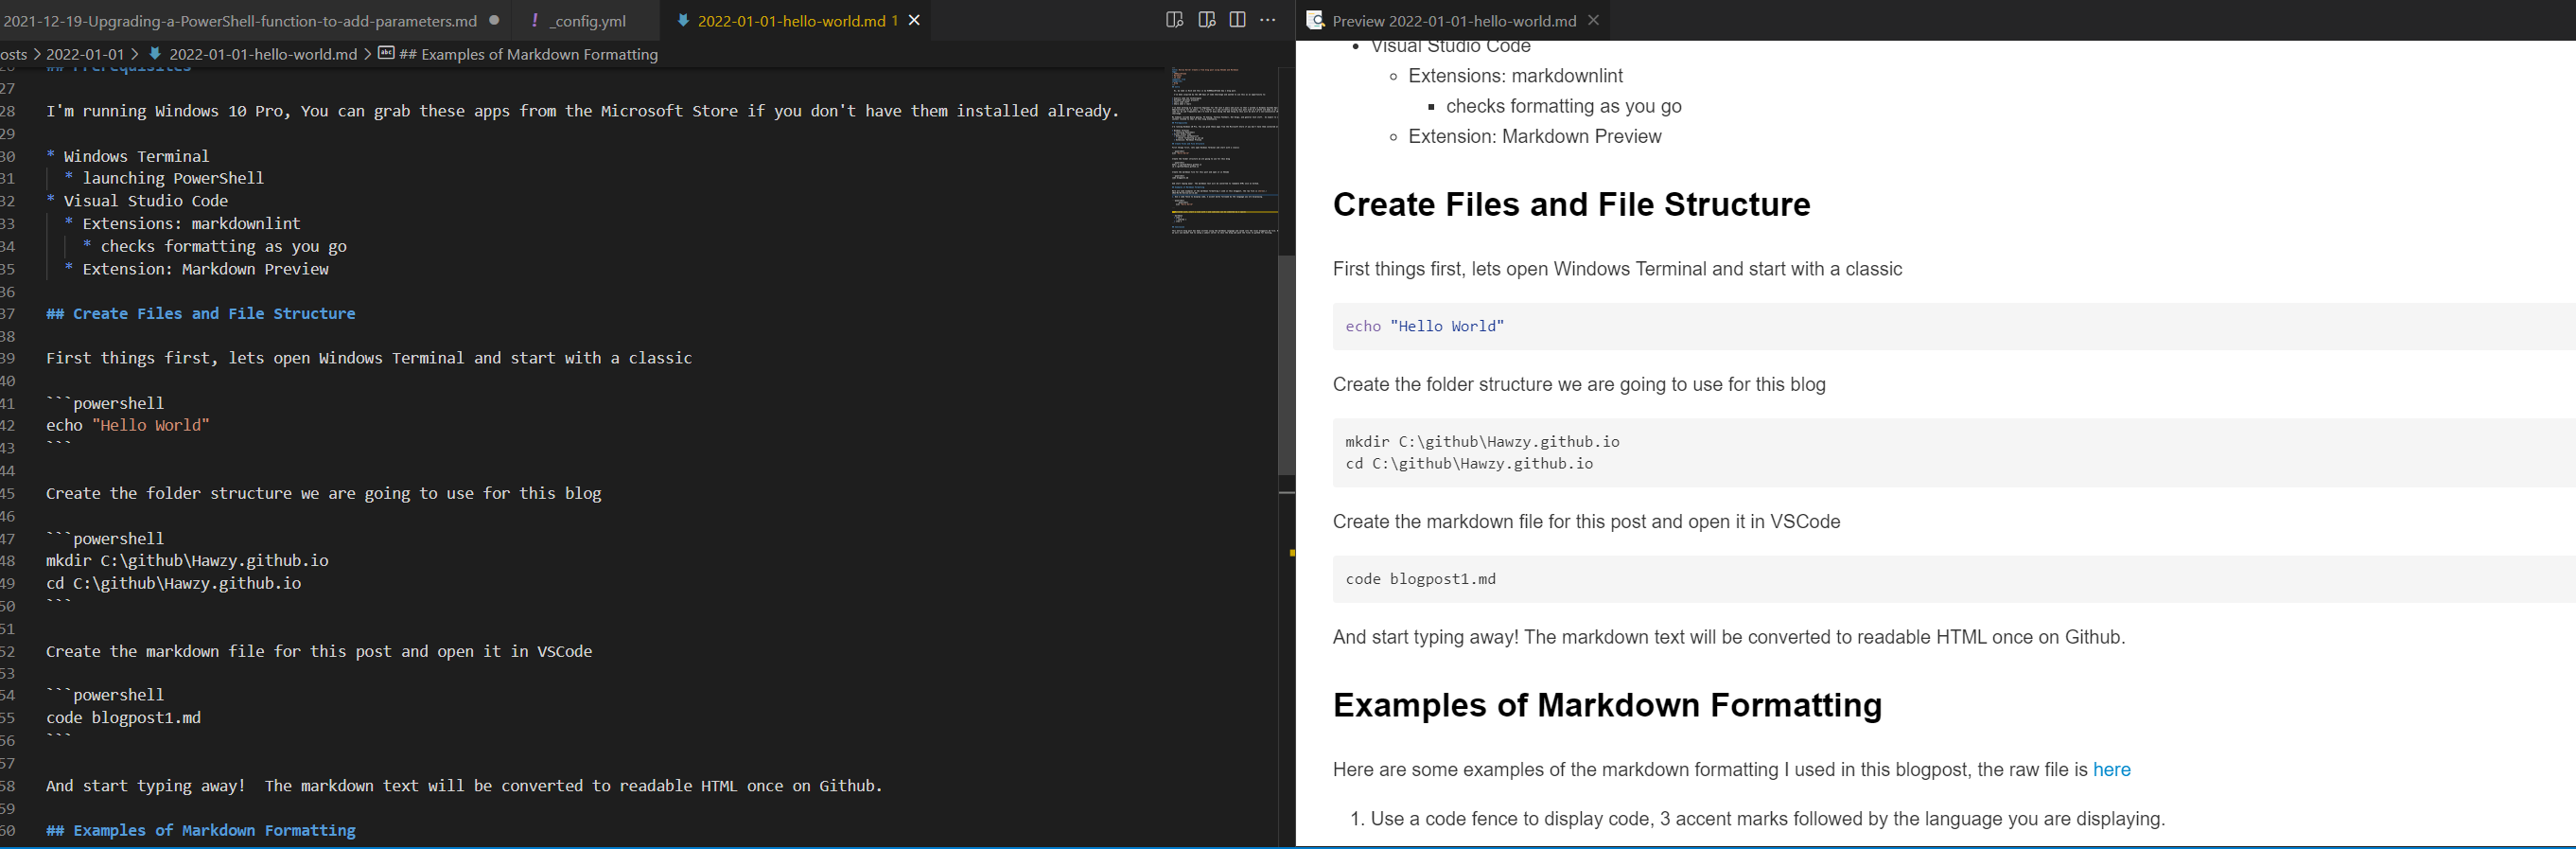This is an example of what the markdown preview pane looks like in VS code as I’m writing this blog post. By default Jekyll doesn’t look for files in the posts directory (or any directory that starts with), so I need to put this image in the assets folder.
Conclusion
This entire blog post has been written using the markdown language and saved into the local blogpost1.md file. Next post we will use docker hub to setup a jekyll server locally to skin the blog and preview before we push the files to github for hosting.
Leave a comment